Convert Your Bike To Electric, Are you looking to turn your regular bike into an electric bike (e-bike)? Converting your bike to electric can be a cost-effective and environmentally friendly way to experience the benefits of an e-bike without buying a brand-new one. With the right tools and a little know-how, you can convert your bike to electric and enjoy the convenience of electric assistance for your rides.
Why Convert Your Bike to Electric?
Before diving into the process, let’s look at why you might want to convert your bike to electric:
- Cost Savings: E-bikes can be expensive, with prices ranging from several hundred to a few thousand dollars. Converting your existing bike to an electric model is a fraction of the cost of purchasing a new e-bike.
- Environmental Benefits: E-bikes are a greener mode of transport compared to cars. By converting your bike to electric, you’ll reduce your carbon footprint and contribute to a more sustainable future.
- Convenience and Comfort: An electric bike helps you travel longer distances and tackle steeper hills with ease. The electric motor reduces the strain on your legs, making cycling a more comfortable and enjoyable experience.
- Customization: When converting your bike to electric, you have full control over the components and setup. Whether you prefer more power, a larger battery, or a specific motor placement, you can tailor the conversion to your needs.
How to Convert Your Bike to Electric: Step-by-Step
1. Choose Your Conversion Kit
The first step in converting your bike to electric is to select an e-bike conversion kit. There are several types of kits available, including:
- Hub Motor Kits: These kits replace the front or rear wheel of your bike with a motorized wheel. They are the easiest to install and typically come with everything you need for a smooth conversion.
- Mid-Drive Motor Kits: These motors are installed at the bike’s bottom bracket and provide more power, especially when climbing hills. They are a bit more complex to install but offer superior performance.
- Conversion Kits with Batteries: Most kits come with a battery, but you may also find kits that require you to purchase a separate battery. Make sure the battery matches the motor’s voltage and power output.
2. Gather Tools and Equipment
Once you have your conversion kit, gather the necessary tools. Depending on the kit and your bike, you may need some or all of the following:
- Wrenches and screwdrivers
- Allen keys
- A torque wrench
- Cable ties
- Soldering iron (if required for wiring)
- A battery charger
- Electrical connectors (if not included)
3. Remove the Existing Components
To start, you’ll need to remove some of the components from your bike. If you’re installing a hub motor, remove the front or rear wheel, depending on your kit. If you’re using a mid-drive motor, you’ll need to remove the pedals, crankset, and bottom bracket.
4. Install the Motor
- For Hub Motors: Replace your existing wheel with the motorized wheel from the kit. Ensure that the motor is securely attached and that the wiring is neatly organized along the frame.
- For Mid-Drive Motors: Install the motor onto the bottom bracket, making sure that it’s properly aligned and securely fastened. This step may involve removing and replacing some of the bike’s existing drivetrain components.
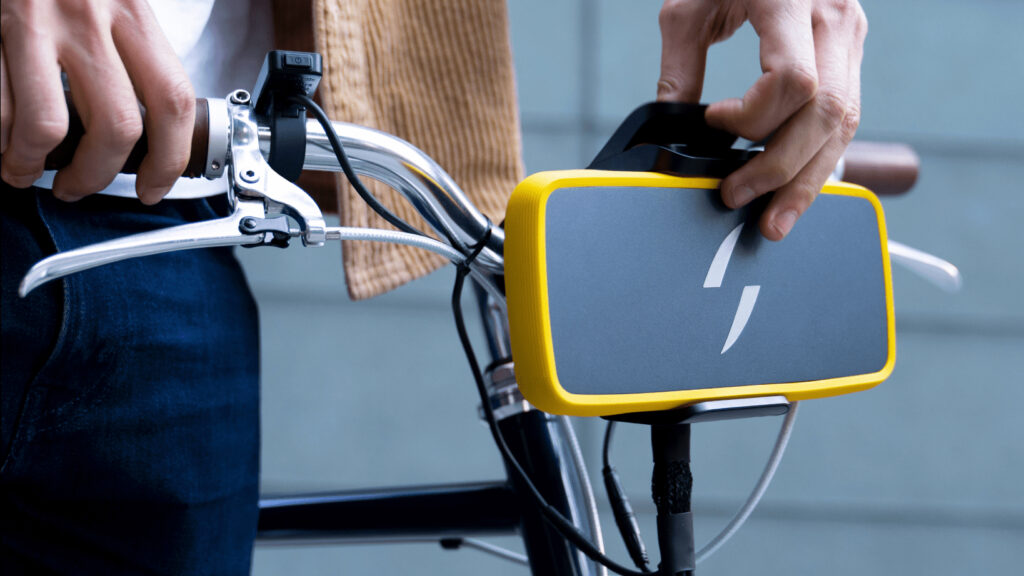
5. Install the Battery
The battery should be mounted on the bike’s frame, typically on the downtube or rear rack. Make sure the battery is securely attached and easy to remove for charging. Connect the battery to the motor’s wiring system, ensuring that all connections are tight and insulated to prevent shorts.
6. Wiring and Electrical Setup
Now it’s time to connect the wiring. This includes attaching the motor wires, battery wires, and controller wires. Many kits come with detailed instructions on how to wire everything together. Be sure to check the voltage and wiring compatibility to avoid damaging any components. Use cable ties to keep the wires tidy and avoid interference with moving parts.
7. Test the System
Before you go for a ride, test the system to ensure everything is working correctly. Check the throttle, brakes, motor, and battery connections. Make sure the motor engages smoothly when you pedal or use the throttle and that the battery is charging properly.
8. Fine-Tuning and Safety Checks
Once your e-bike is operational, take some time to fine-tune the setup. Adjust the brakes, gears, and motor settings for optimal performance. Also, double-check all connections and ensure that the wiring is safely secured to avoid any issues during your rides.
9. Go for a Test Ride
Finally, take your newly converted electric bike for a test ride. Start slow and gradually increase the speed to see how it handles. Pay attention to the motor’s response, the bike’s balance, and the overall comfort. You may need to make further adjustments after your first ride to get everything just right.
Additional Tips for Converting Your Bike to Electric
- Legal Considerations: Before riding your e-bike on public roads, check your local regulations to ensure that your conversion complies with local laws regarding motor power, speed limits, and bike requirements.
- Battery Maintenance: Proper battery care is crucial for the longevity of your e-bike. Charge your battery regularly, avoid letting it run completely empty, and store it in a cool, dry place.
- Safety Gear: Always wear appropriate safety gear, including a helmet, gloves, and reflective clothing, especially when riding at higher speeds or in traffic.
Conclusion
Converting your bike to electric can be a rewarding project that brings you the benefits of an e-bike without the hefty price tag. By following the steps above and choosing the right conversion kit, you can easily transform your regular bike into a powerful and efficient electric bike that’s perfect for commuting, exercise, or leisure rides. With a little time and effort, you’ll be able to enjoy the freedom and convenience of an electric-powered ride.
You Might Also Like These: